First Steps
From a fresh installation to your first object, in seven steps. Everything here happens in the web console at http://your-server:8081.
1. Sign in
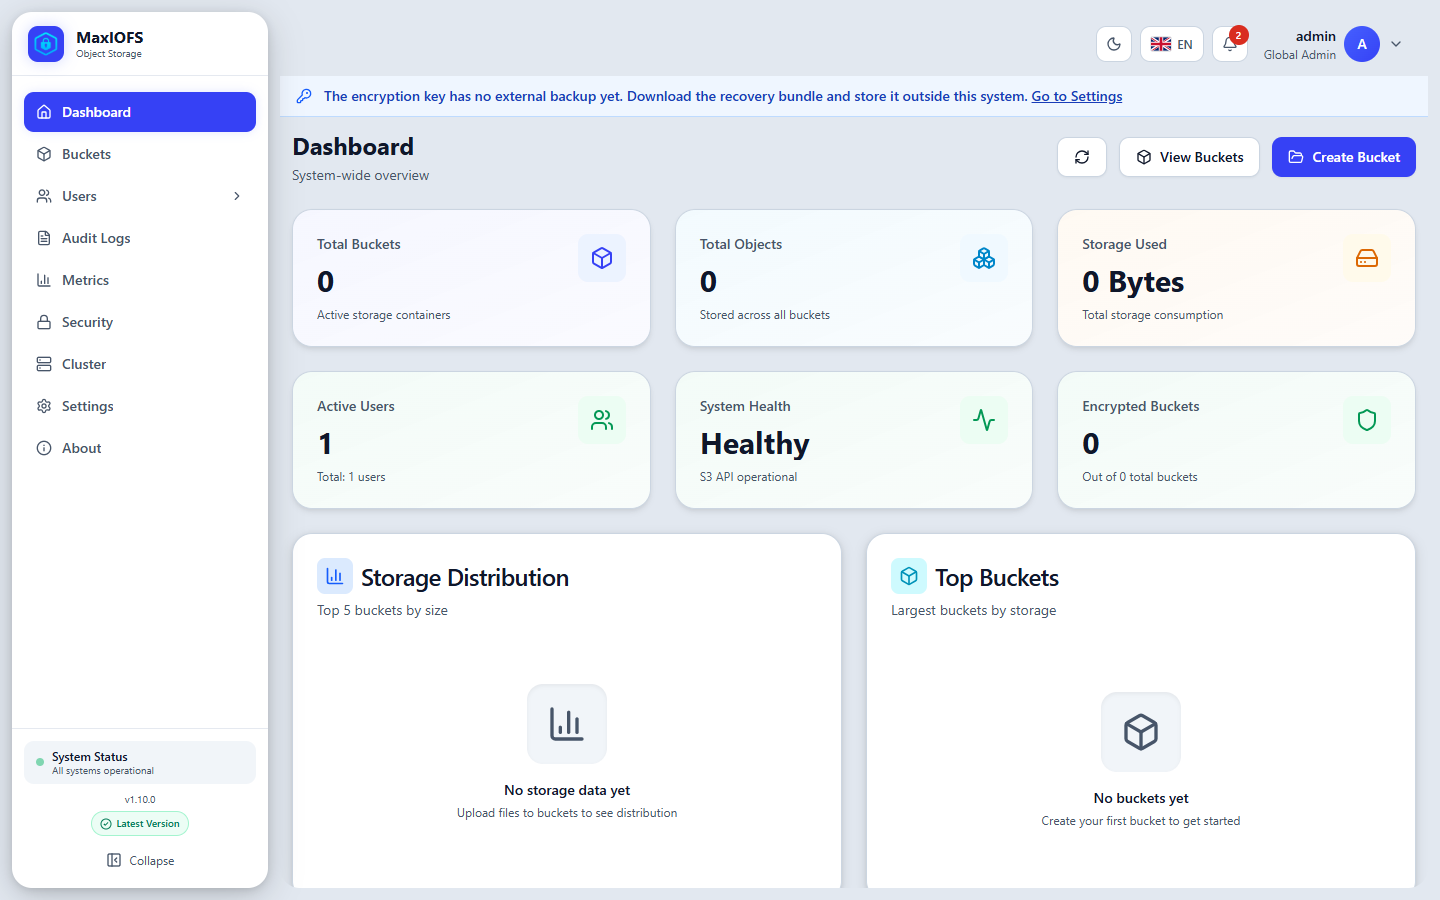
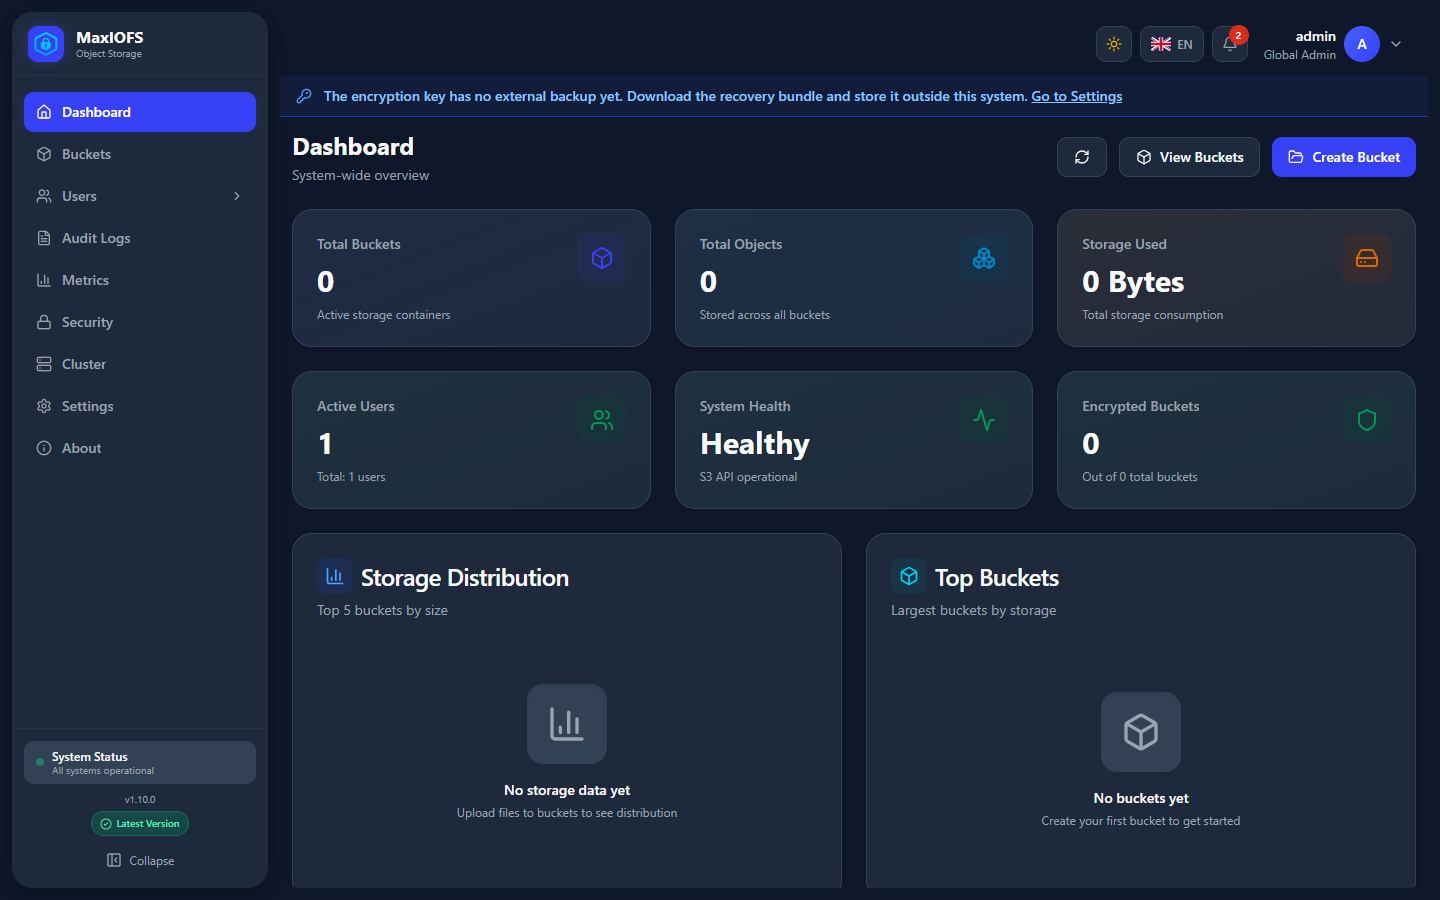
Sign in with admin / admin. The dashboard opens, with a banner asking for the encryption recovery bundle: step 3 takes care of it.
2. Change the administrator password
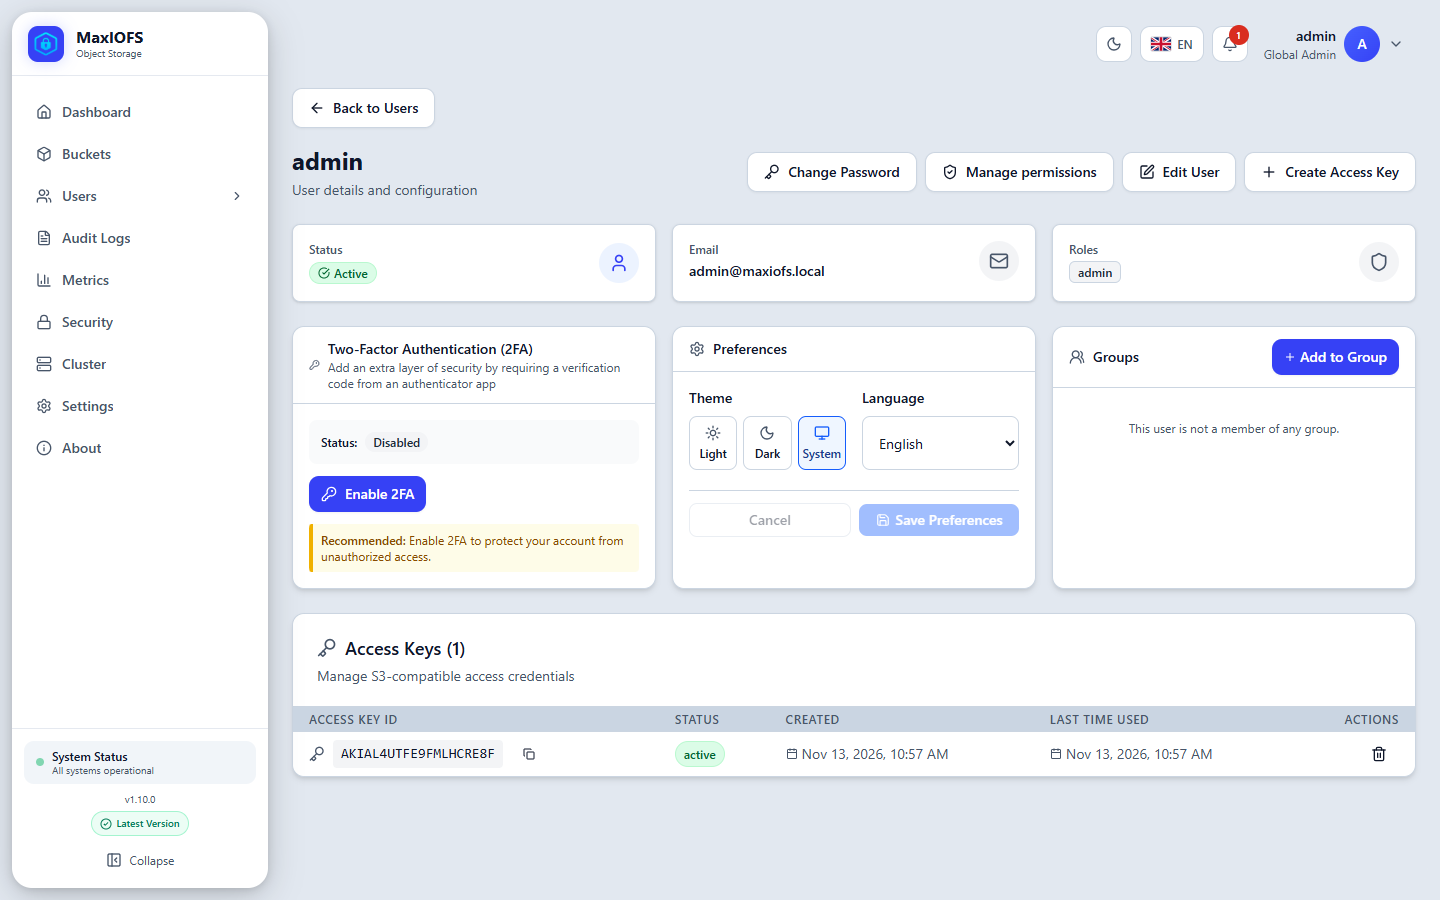
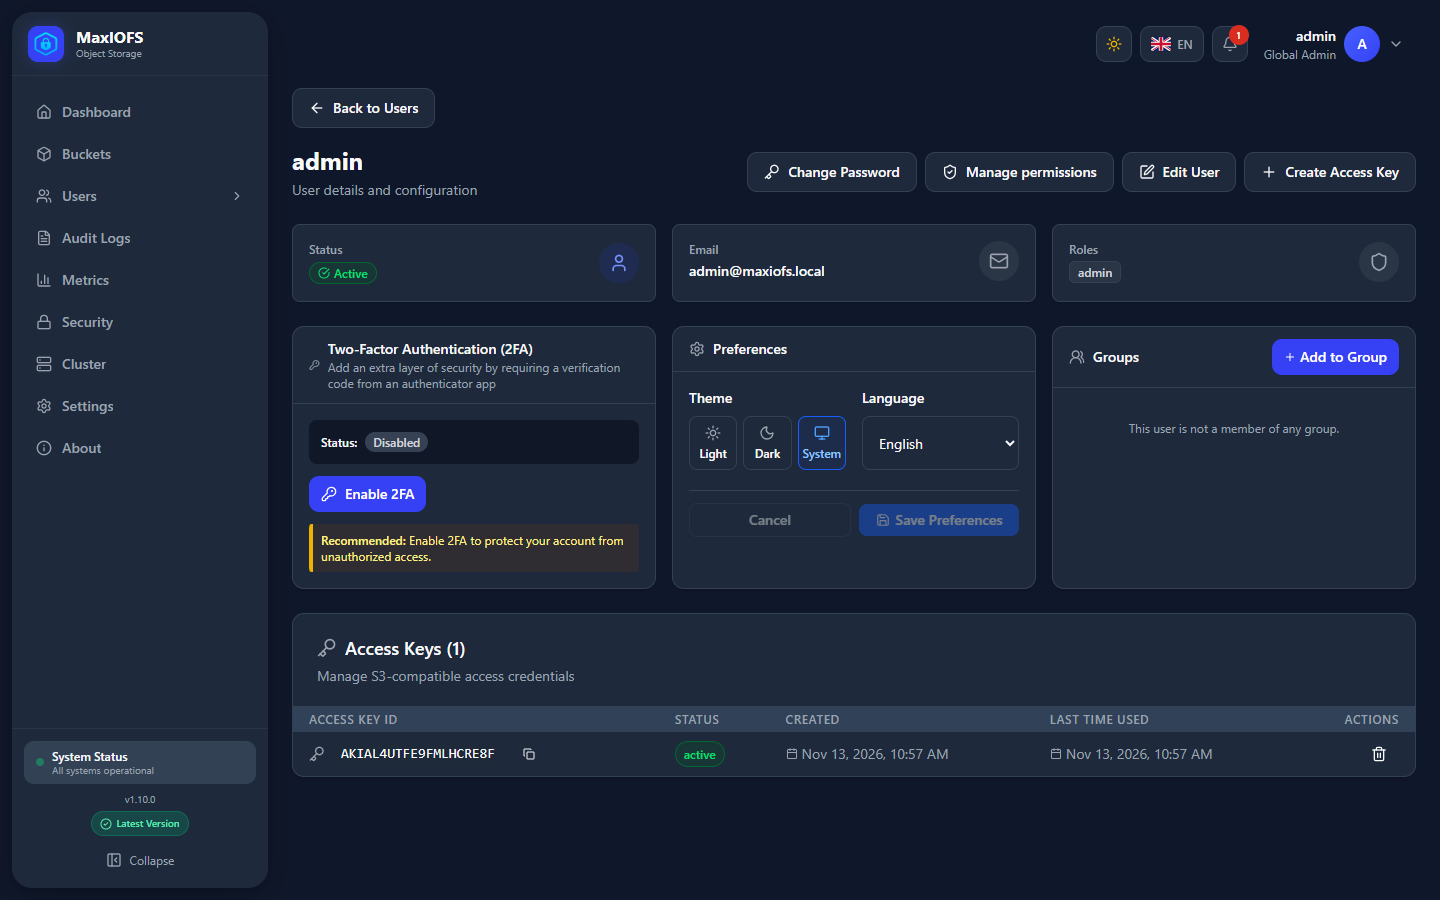
Open your profile (your name, top right → My Profile) and click Change Password. Choose a password that follows the password policy of Settings → Security.
3. Download the encryption recovery bundle
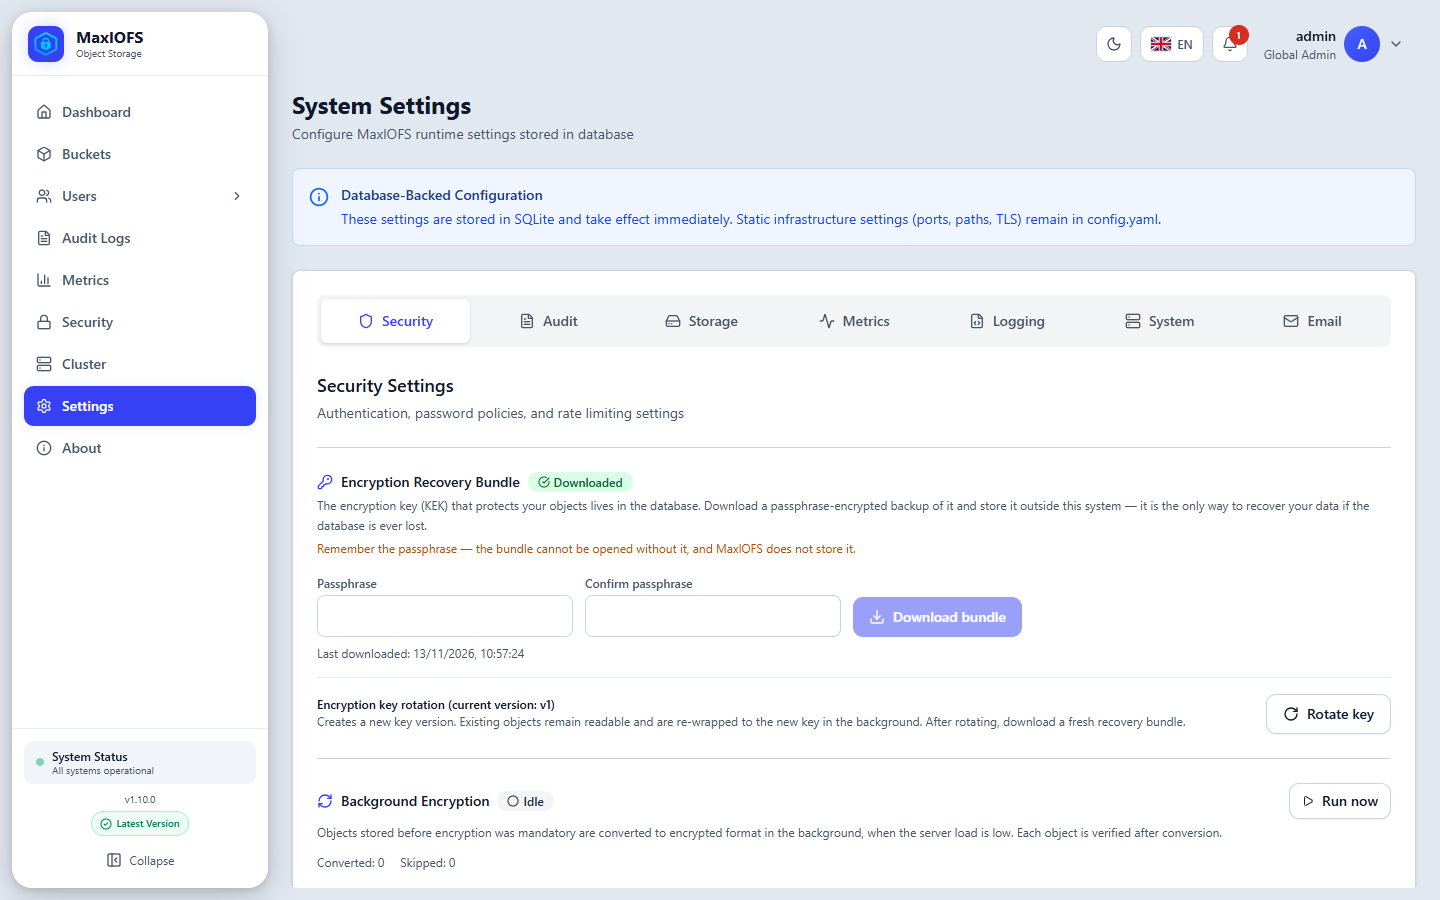
Every object is encrypted at rest, always. The key that protects them (the KEK) lives in the database. If that database is ever lost, the recovery bundle is the only way to read your objects again.
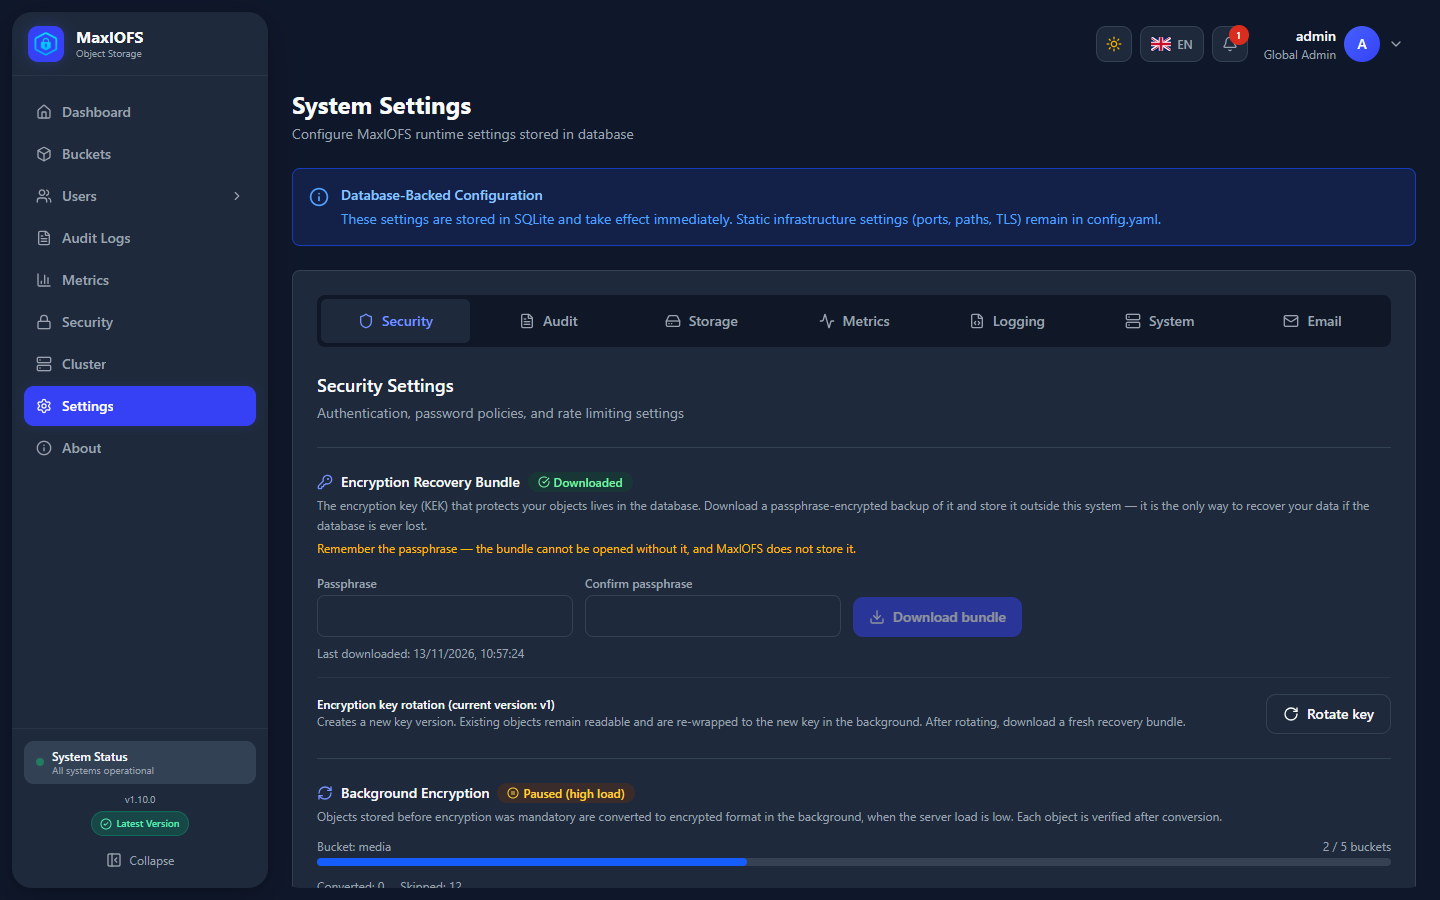
- Go to Settings → Security.
- Under Encryption Recovery Bundle, type a passphrase twice.
- Click Download bundle and store the file outside this server, together with the passphrase.
Keep the passphrase
The bundle cannot be opened without its passphrase, and MaxIOFS does not store it. Download a new bundle each time you rotate the key.
4. Turn on two-factor authentication
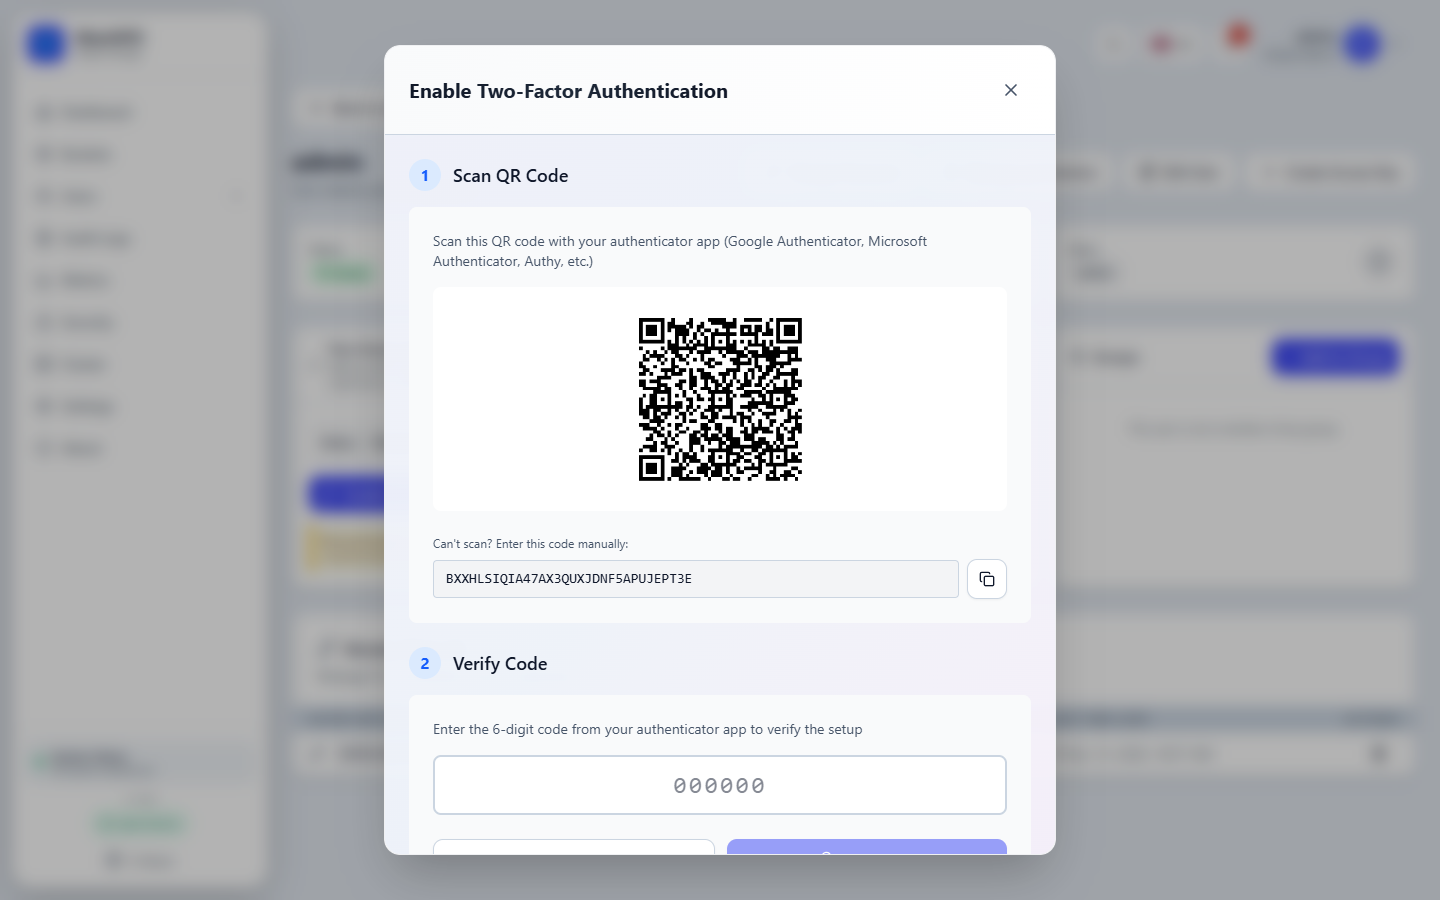
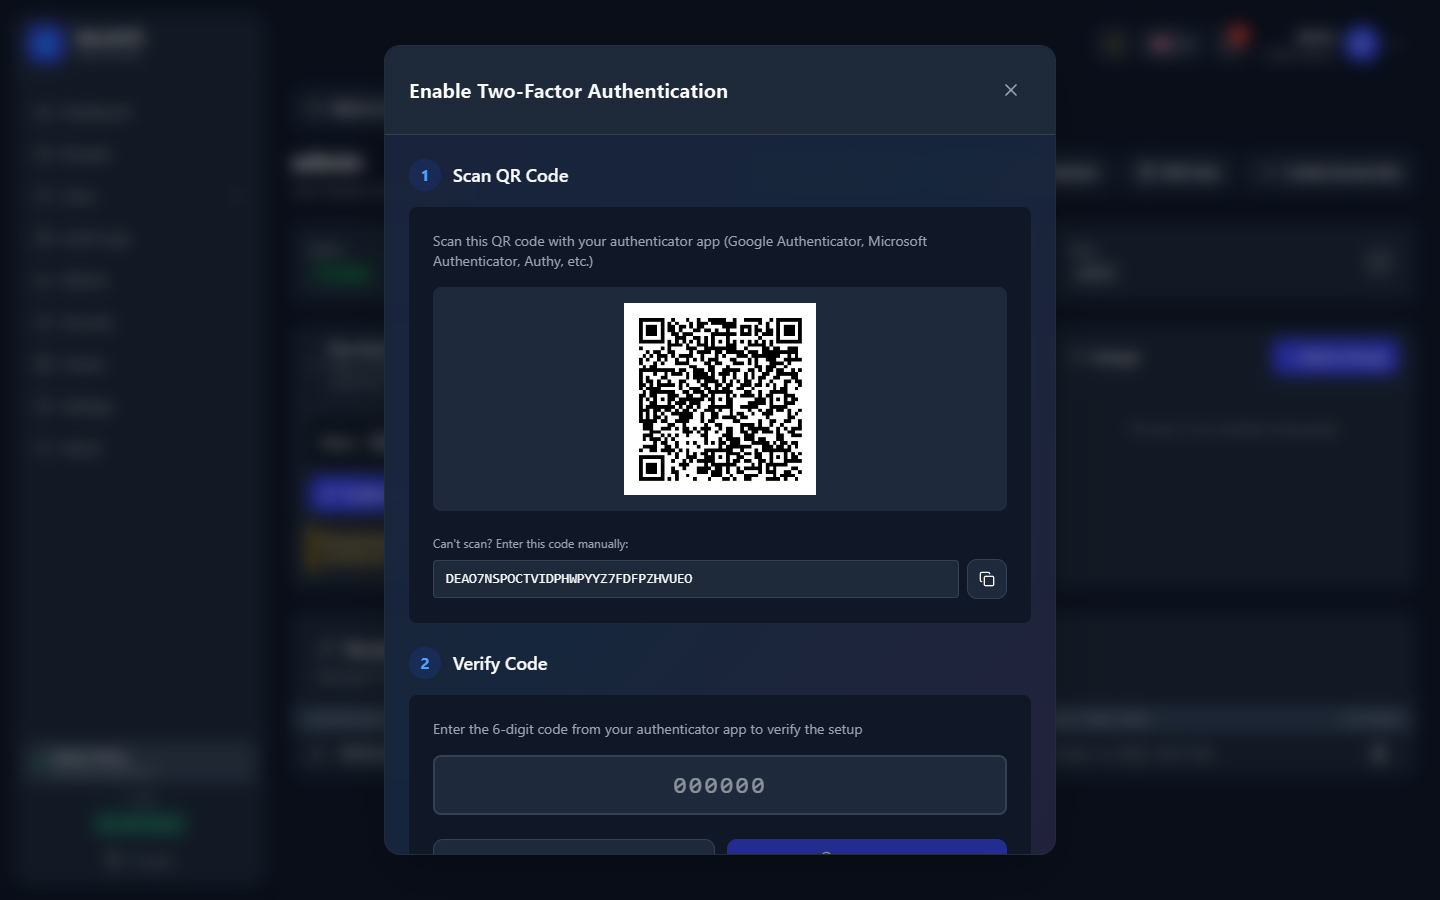
Still in your profile, click Enable 2FA, scan the QR code with an authenticator app (Google Authenticator, Microsoft Authenticator, 1Password, Bitwarden…) and type the 6-digit code. Save the backup codes it shows: each one signs you in once if you lose the phone.
5. Create a bucket
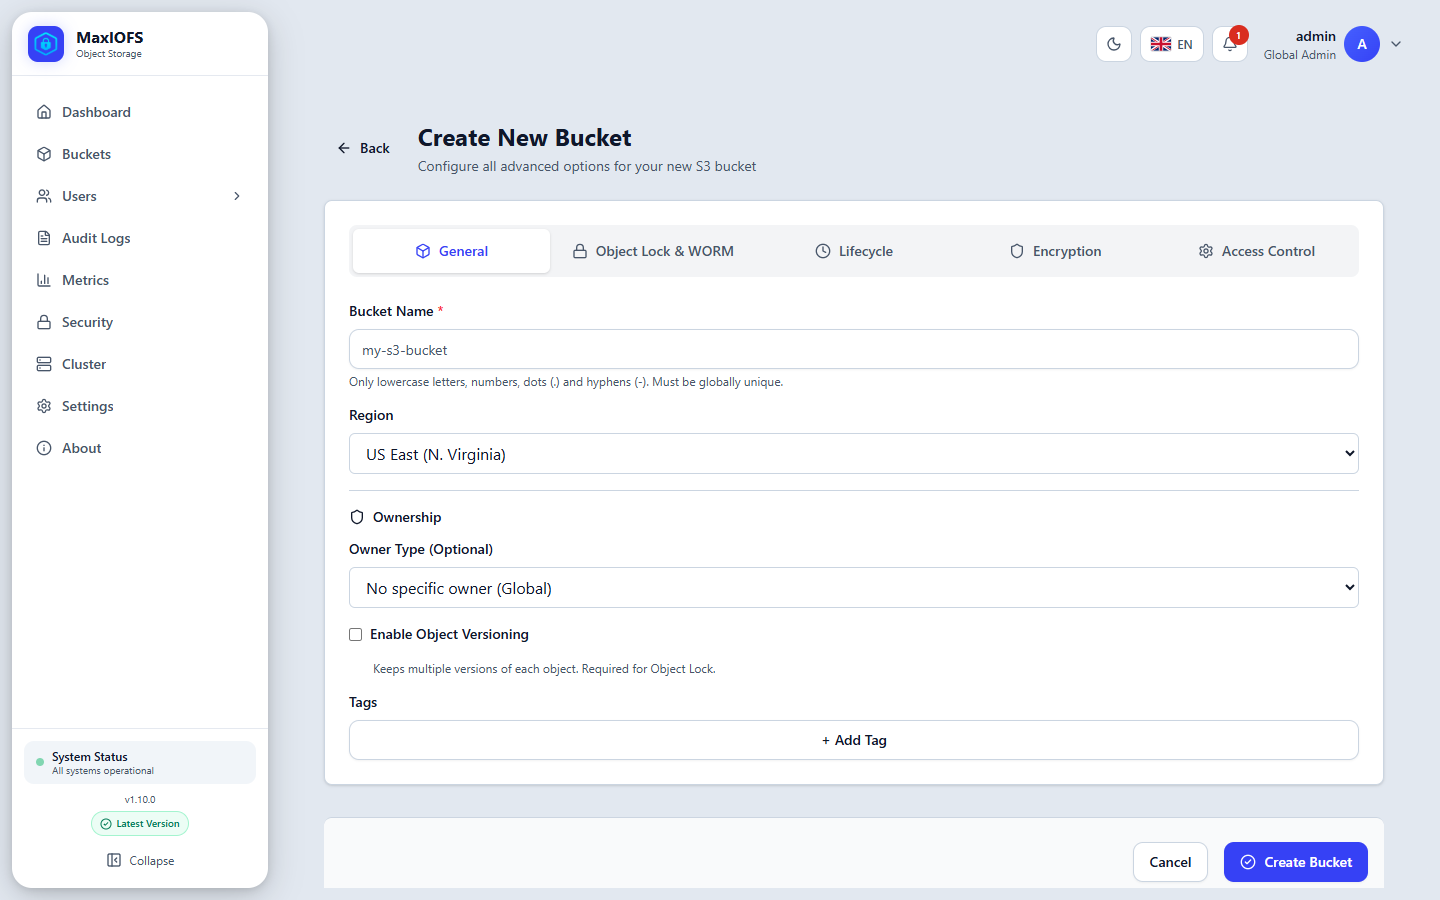
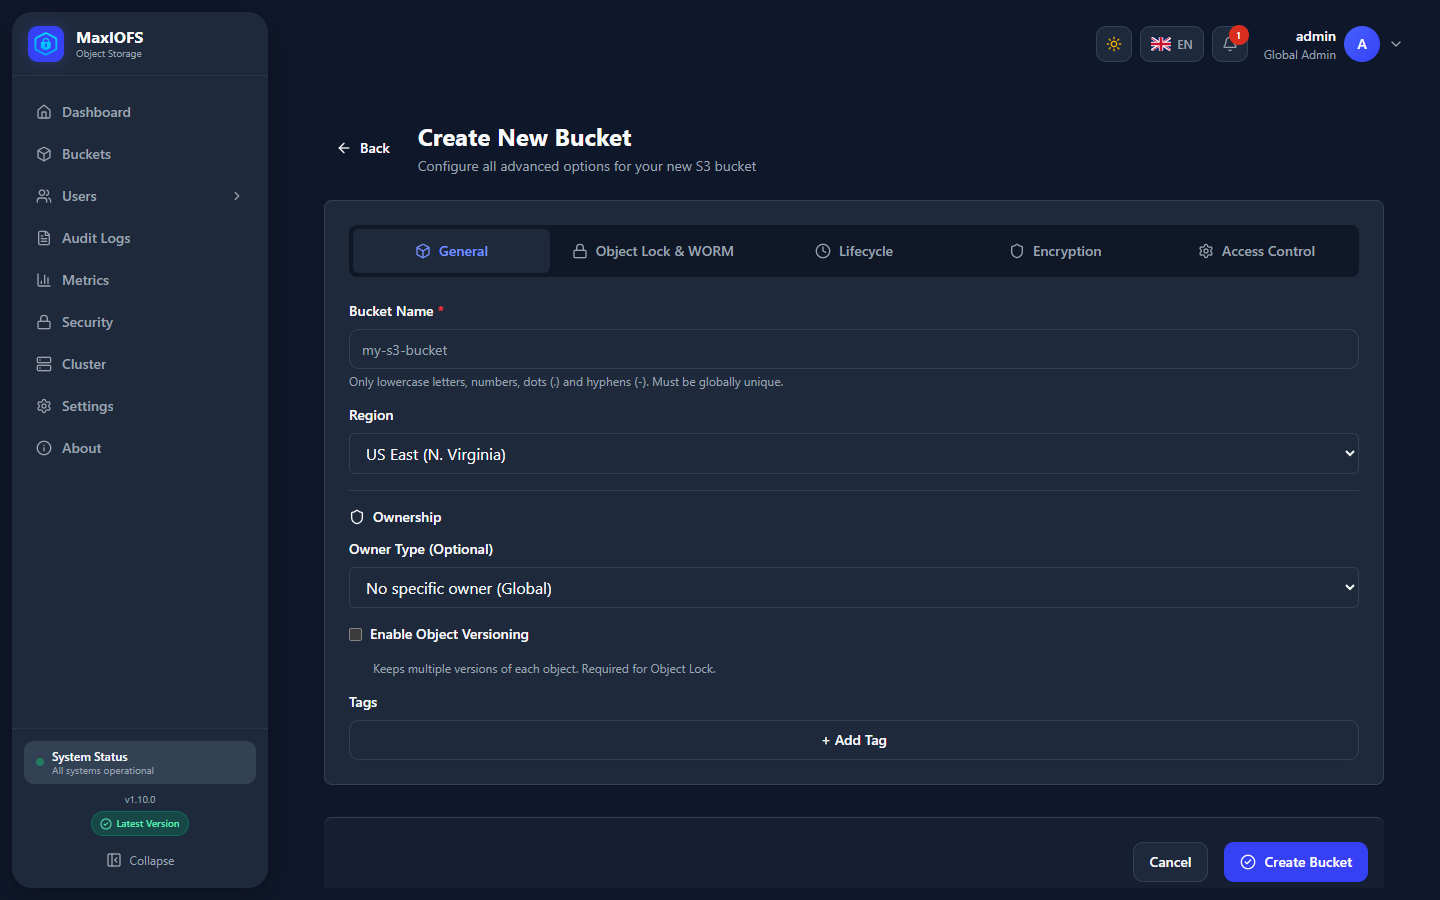
Go to Buckets → Create Bucket, type a name (lowercase letters, numbers, dots and hyphens) and click Create Bucket. The tabs set versioning, Object Lock, lifecycle and public access from the start; all of them except Object Lock can be changed later. Buckets explains each option.
6. Create an access key
S3 clients sign their requests with an access key, not with your password. In your profile, click Create Access Key.
Copy the secret now
The secret access key is shown only once. Copy both values before closing the window; if you lose the secret, delete the key and create a new one.
7. Upload your first object
Store the key in a profile of its own:
aws configure --profile maxiofs
# AWS Access Key ID:     <your access key>
# AWS Secret Access Key: <your secret key>
# Default region name:   us-east-1
# Default output format: json
Then point the CLI at MaxIOFS with --endpoint-url:
export AWS_PROFILE=maxiofs
export AWS_ENDPOINT_URL=http://your-server:8080   # AWS CLI v2.13+ and v1.29+

aws s3 ls                                  # your buckets
aws s3 cp report.pdf s3://my-bucket/       # upload a file
aws s3 ls s3://my-bucket/                  # list it
aws s3 sync ./photos s3://my-bucket/photos/  # upload a folder
On older CLI versions, add --endpoint-url http://your-server:8080 to
each command instead of the variable.
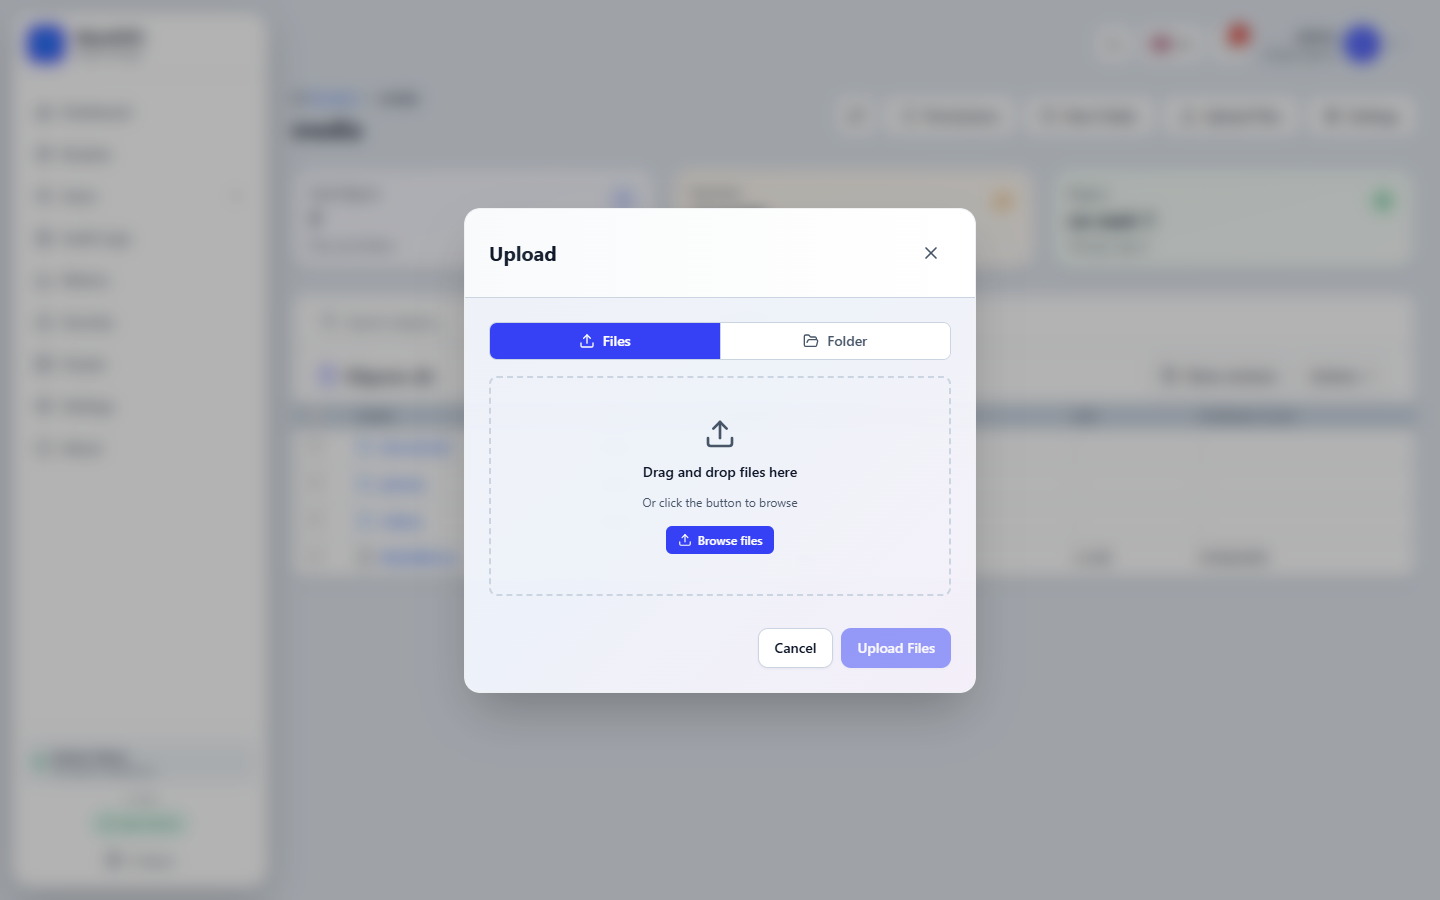
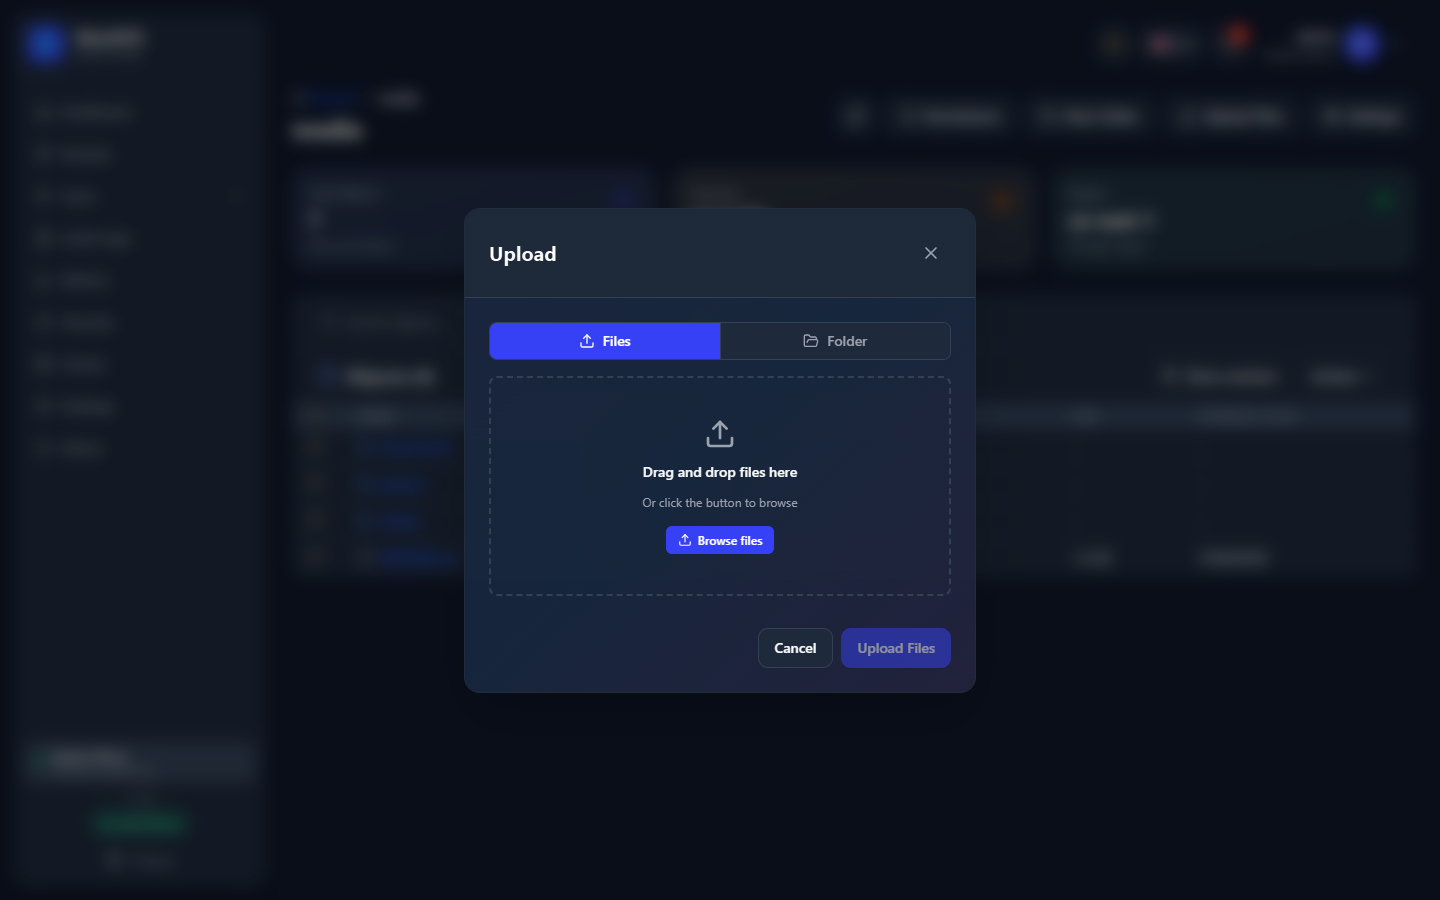
Open the bucket and click Upload Files. Drag files or a whole folder onto the window, or pick them with the buttons.
Next
- Console Guide: every page of the console.
- AWS CLI: more commands, versioning, Object Lock and multipart uploads.
- TLS and Reverse Proxy: before exposing the server beyond your network.